The Cheater-Pants Way To DIY That’s Fun, Easy and Cheap!
Our church nursery hadn’t been painted in years, and though it was bright and fun and happy, it was also in need of a refresh and a softer color for the littlest ones.

I had been using Sherwin Williams Light French Grey for all of our other Sunday School rooms I had been working on, so I decided that we should keep the grey trend going and see how it looked.
We were not disappointed. The grey was soft and peaceful and calming, and just so beautiful.

It looked so good, it made the old wood and plaid rocker stand out even more.
That was NOT the look I was going for.
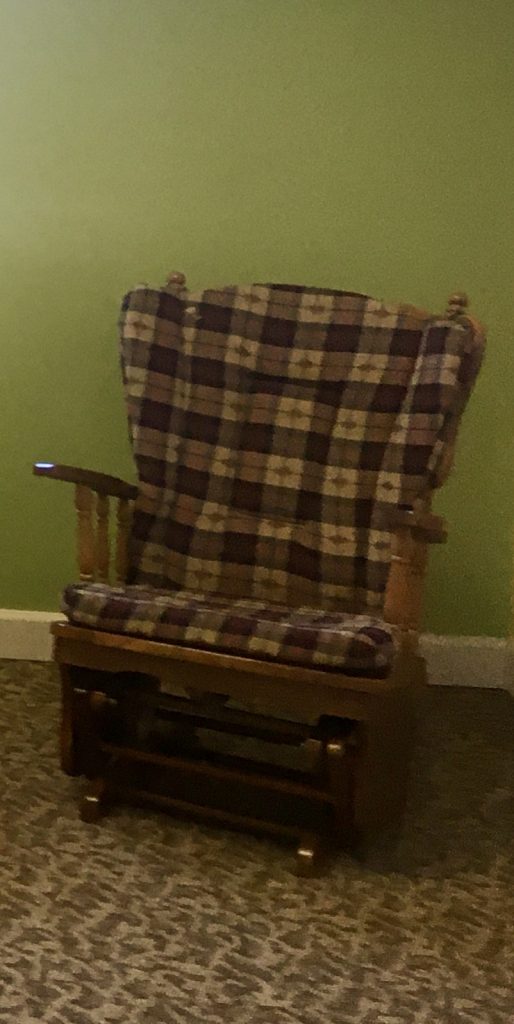
So one night I decided to give it a go and redo the glider. After all, how hard could it be???
I grabbed the plaid cushions so I would know how much fabric to purchase (expert tip right there from someone who’s made that mistake before), and marched into Walmart for the supplies I needed.

Once I saw the grey fabric with white arrows on it, I was sold. Then to know that Waverly has a pre-cut section where you don’t have to stand in line for a cutter… I was one happy camper.
I busted that package open to make sure the fabric would cover the high back cushion, and grabbed two yards total along with some safety pins. No Sew Sally to the rescue.

I also grabbed two cans of Rustoleum Universal Paint and Primer in One so I could turn that original wood into white as I recovered the cushions inside. This has literally become my new favorite spray paint, if you can excuse my red nose from being so cold outside! The Universal line has lots of options and colors, but Satin White is my favorite for this project here.

I ran back to the church to get moving while I was on the jazz.

I hauled that glider rocker outside, and since it was pitch dark, I set it in line with one of the outdoor super bright lights and then pointed my minivan headlights at it coming from the other side. (Super high tech here.)

I sprayed that rocker until the cows came home, knowing it was probably too cold to be spraying outside but hoping I could finish the project in one night. It was tricky with such scattered light, but I kept spraying light coats all over it from every angle.
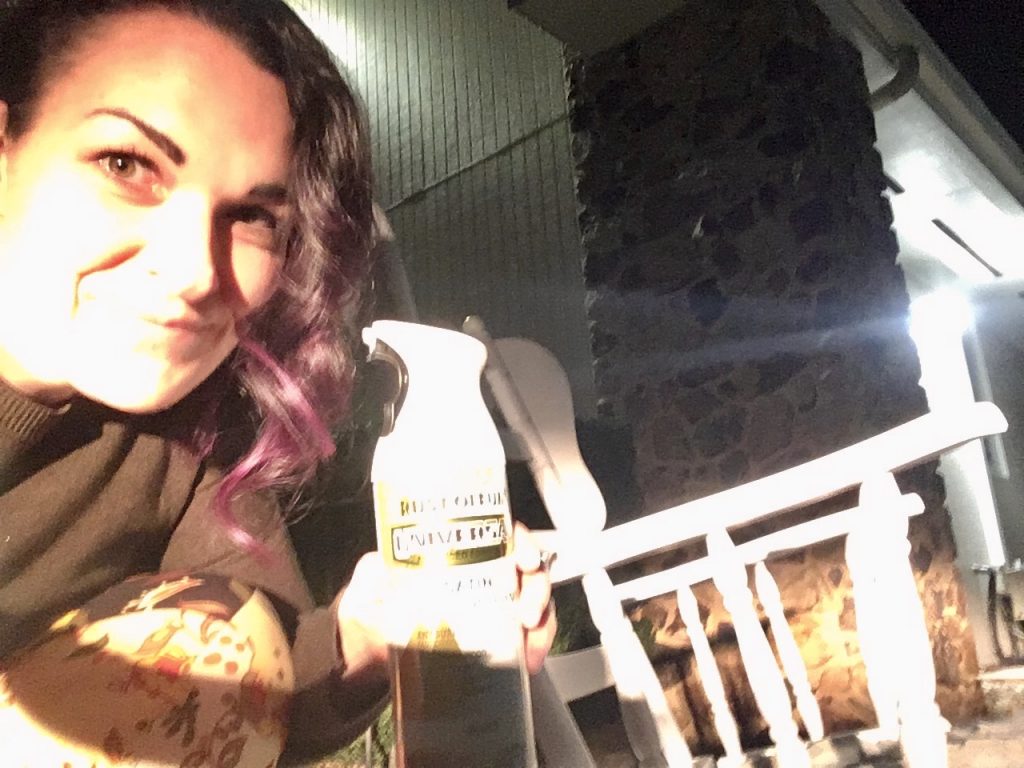
Having a great spray paint really made the difference. If I had been more calculated in spraying, I probably would have only needed the one can, not the second.

I left it out to dry and moved inside to recover the cushions.

The first thing I did inside was lay out the fabric on top of the high back cushion, just to get an idea of the print direction.

Then I flipped it over and started pinning.

I folded it straight across, just like a Christmas present. I pinned the fabric down across the straight line, then again where the corner met the next fold of fabric.

Pin it as much as you like; no one will ever see it.

The bottom edge of the cushion was so close to the edge of the new fabric, I pulled a little on the fabric both to tighten it and give me more room to secure it. This also makes it looks nice on the front.

Once you’ve folded straight and flat, go ahead and pull in the pieces where the angles of the chair cushion are, and pin those in place as well. You can always re-pin if you don’t like the angle, so don’t be afraid to get started and try it!

When you’ve finished pinning all four sides straight and then all angles you want to highlight, pin any where extra that you would like to secure.
Double secure any corners that are going to get lots of use.

Flip that cushion over to admire your handiwork!

If you see any parts that you would like to adjust… go ahead! It’s just pins that can move and change! And if you’re the type of person that wants it ALL covered, or if your rocker is going in a place where people will see the back of it, just lay a piece of the material flat on the back and pin it down over the top. Done and done.

Next, grab your seat cushion and lay that thing out the same way you did for your high back cushion. I chose to leave the plaid tabs sticking out because I knew that no one would ever see them from behind the chair. If you would like to have more coverage, you can easily cut a piece of that fabric off to cover the tabs, and glue or pin the new fabric directly over the old.

Fold straight again, as best as you can, and remember you can always pin the folds back after the initial straight pinning. Just like a Christmas present, go straight and then fold after it’s secure.

You don’t need to worry about over-pinning anywhere, either… you are working on the bottom of the cushion, so there is no way the pins will affect anyone once you’re using it again.

Pin it up and pin it in… that’s how you get it done here.

Flip it over when it’s all secure, and admire your hard work. I was happy with the way it turned out, so I went back outside to grab the rocker and bring it in, hoping it was dry with all the cold weather and coats of paint I had put on.

Thankfully, it wasn’t even tacky, so I could move it right back into the nursery for the most rewarding part:
I set the cushions back on the rocker and brushed away any wrinkles I could see. You could always use a handheld steamer to get those wrinkles out, or iron the fabric before you start working on it. Either way, those wrinkles will come out over time.

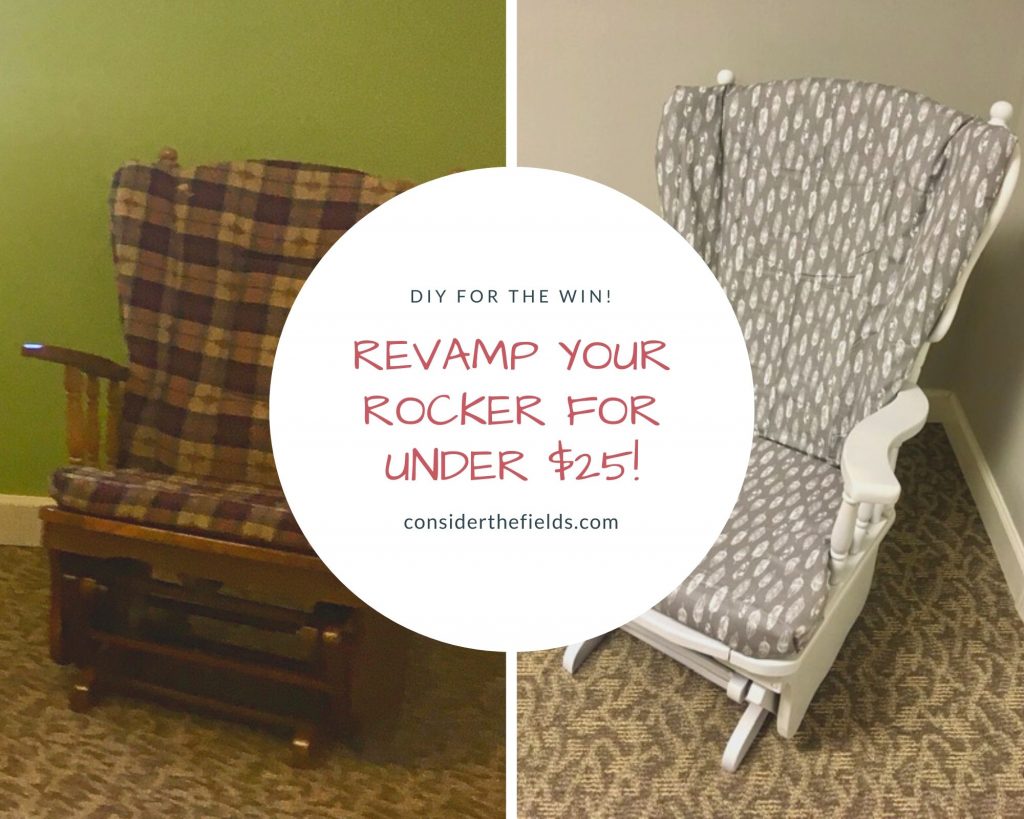
I stood back to admire the whole thing, and absolutely loved it.
Taking advantage of the Christmas season, I had grabbed a 60 foot roll of warm white lights to hang from the ceiling as well. You can get something similar on Amazon here. Something about fluorescent lights does not say “Hush, Little Baby” to me…

I will show you how the lights turned out in my next post!
Also, may I just give you a word of caution about the overspray of the project? Super funny (and super humbling) story coming up here as well. In the meantime, use a huge tablecloth or drop cloth to cover as much floor surface as possible, and use a grassy area if you can!!!

But can we just take a moment and admire that Nursery one more time…?! I may be biased, but I think the rocker just makes it…!


Disclaimer: any of the clickthroughs you find on my pages are links to products that I have used and love and trust. I may make a small commission on anything you purchase on the other side of the link, so please know it will go to fund my crazy projects, wild ideas and writing habits. It will not cost anything extra for you. Thank you for your love and support!


Look at you go! I love it❤️????