The Cricut feature I never knew existed.
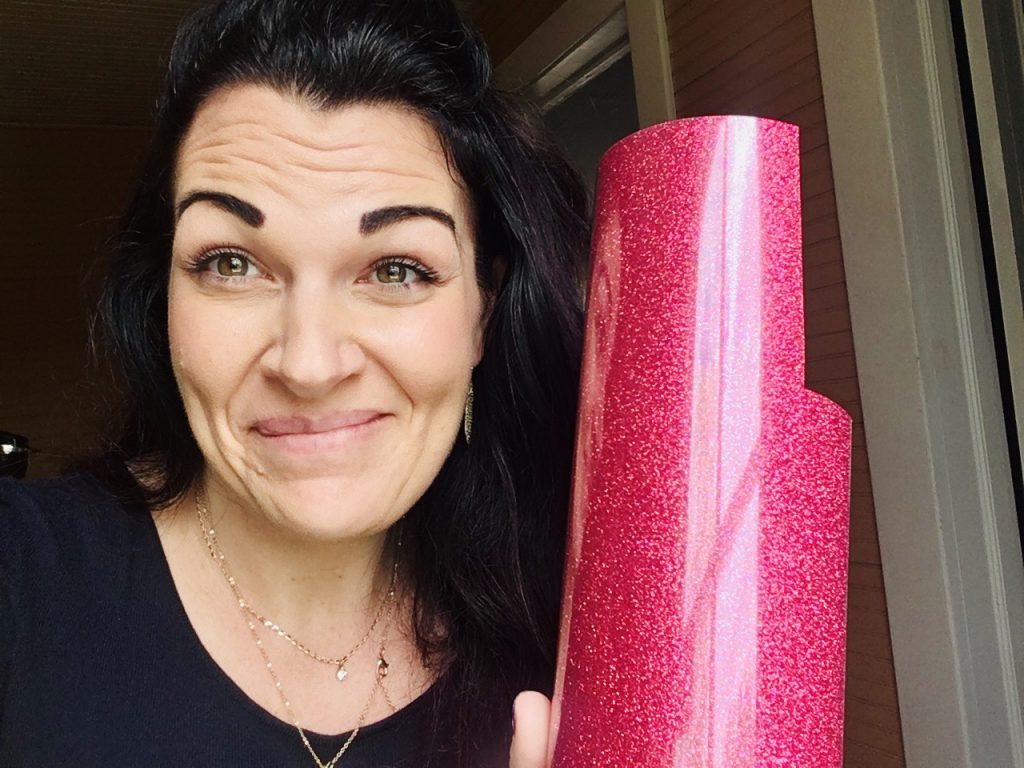

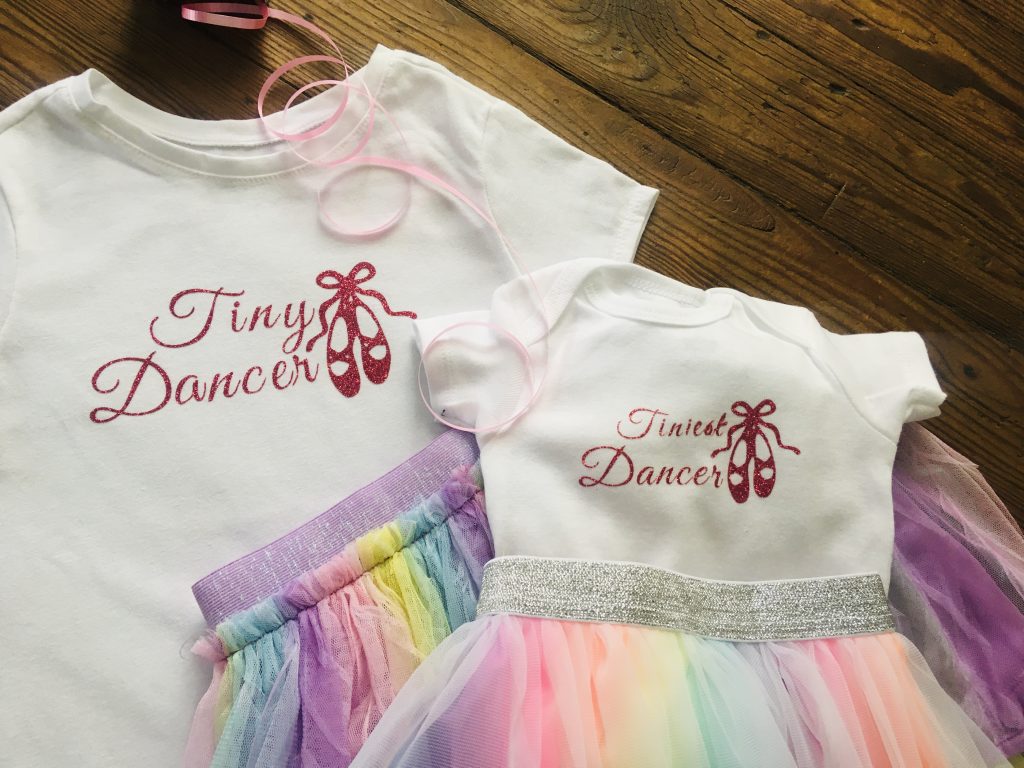
I got me some pink glitter iron on HTV (Heat Transfer Vinyl), and I felt like I won the lottery.
I had gotten an order for a special matching girls set of t shirts and could not WAIT to make them.
Did you know that Cricut has a special “Glitter Iron On” cutting option????
Did you also know that if you do NOT use that special function, you will spend SO MUCH time trying to weed the glittery mat your eyes will cross and your fingers won’t feel a thing????
Or so I’ve heard.
Just kidding. That was me today. Matching outfits in one order means two shirts, and so I started with the bigger one hoping to gear myself up for the smaller one. (Read: infant 0-3 onesie as my smaller one.)
Oh thank God I started with the bigger one.
Because I had NO idea what I was doing, and I picked the “Regular Every Day Iron On Vinyl” setting to do the job.
Over an hour later, I was finishing up the weeding process, painfully deciding it was bad quality vinyl, (it wasn’t), a dulling Cricut blade (not true either), or my life in general was falling apart (not really true either).
So as I dreaded to make the infant onesie, I thought I would check the cutting options, and oh hallelujah, there was an option.
And it worked.
And because I love all of God’s children I decided to blog about this little thing I never knew in the hopes of making someone else’s life (and afternoon) not wasted.
Without further ado, here’s the deal.
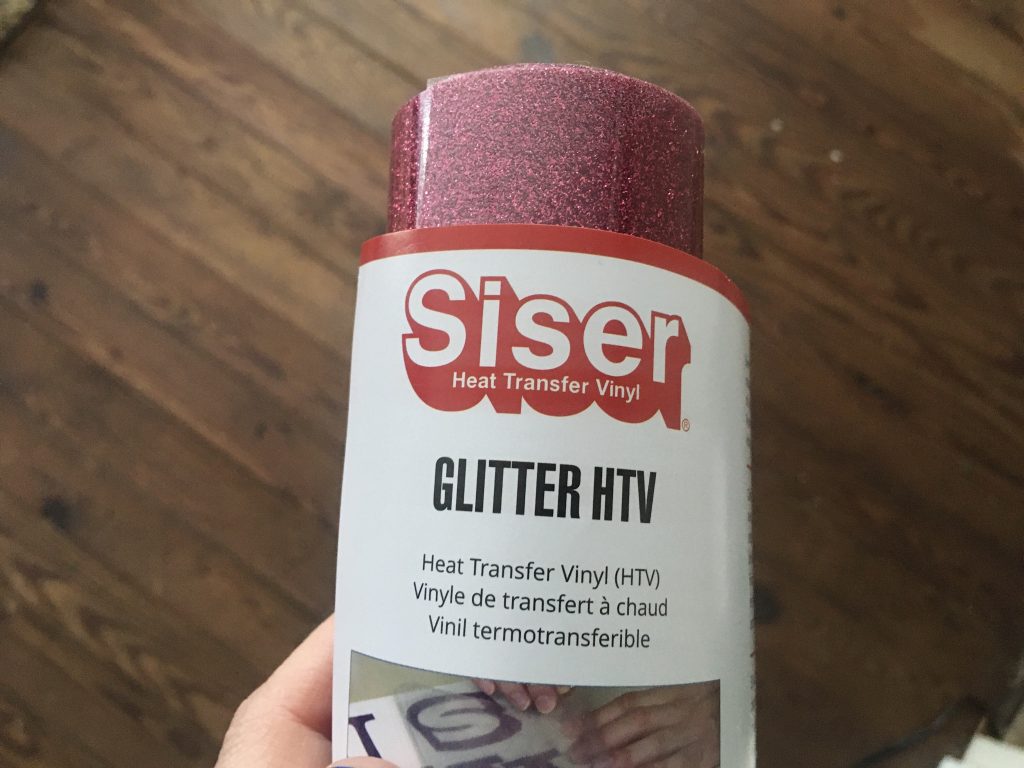
The Siser HTV never steers me wrong and the pink glitter sealed my love forever. For the love of all good things, do yourself a favor and order a roll, not a sheet, EVERY TIME.
Once I was ready to cut my design, this is what I chose:
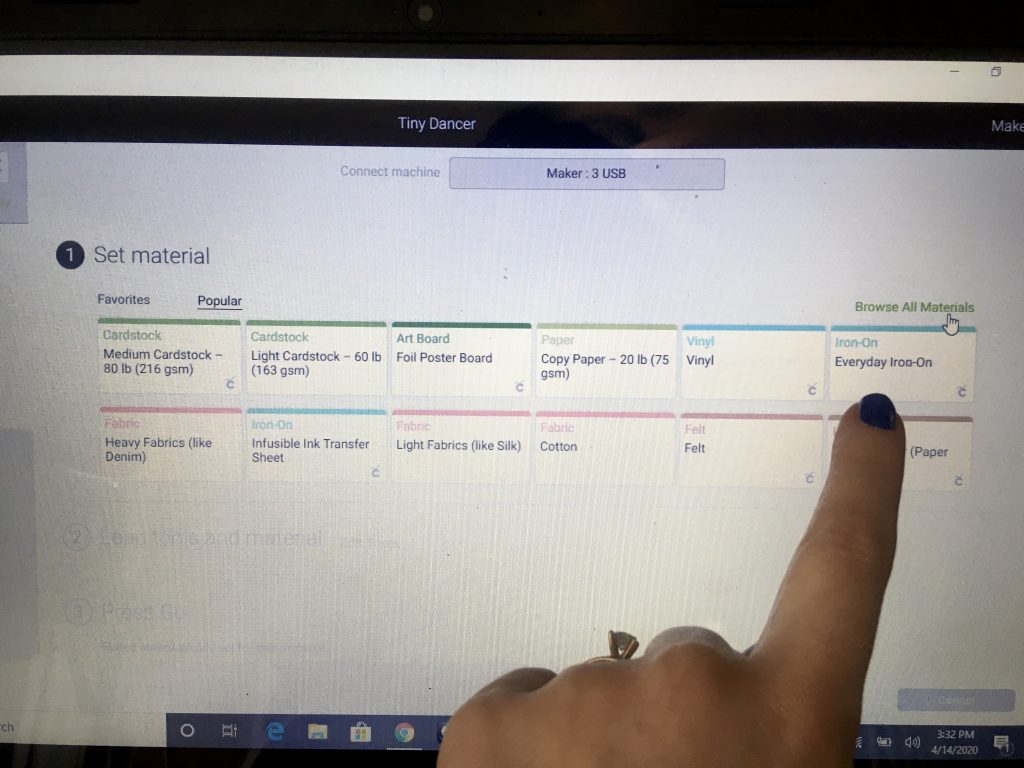
If you don’t already see it in Step #1, no worries, just choose “Browse Other Materials.”
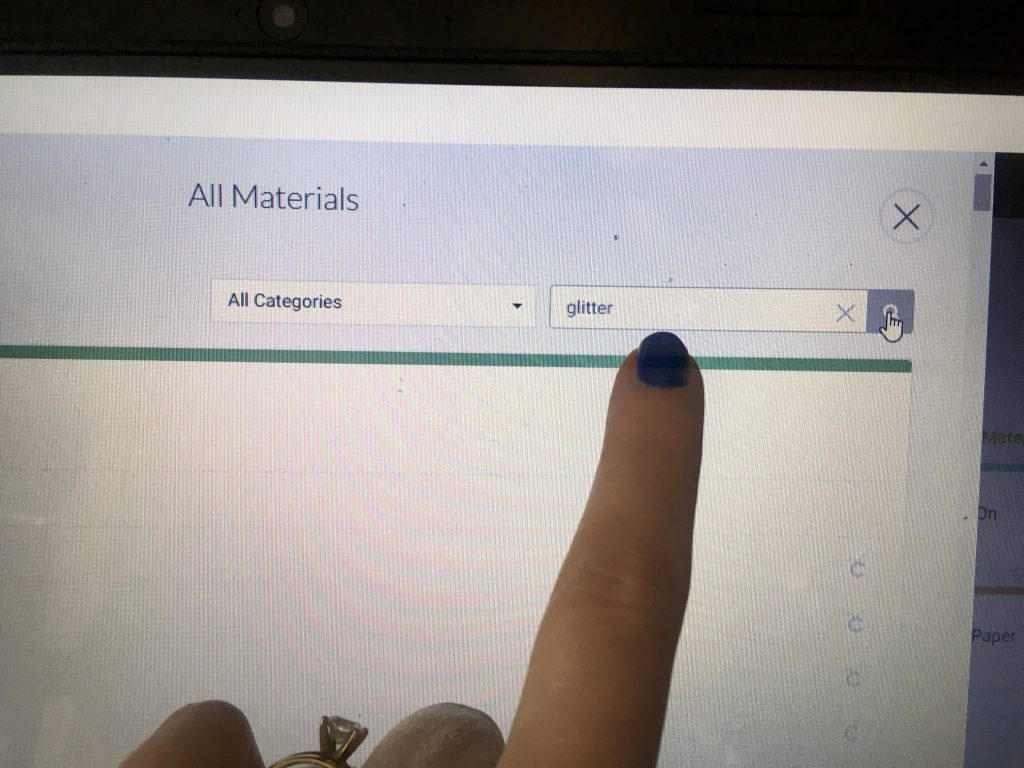

Save yourself some scrolling time, and just type “glitter” in the search box.
Who knew Cricut had so many options????
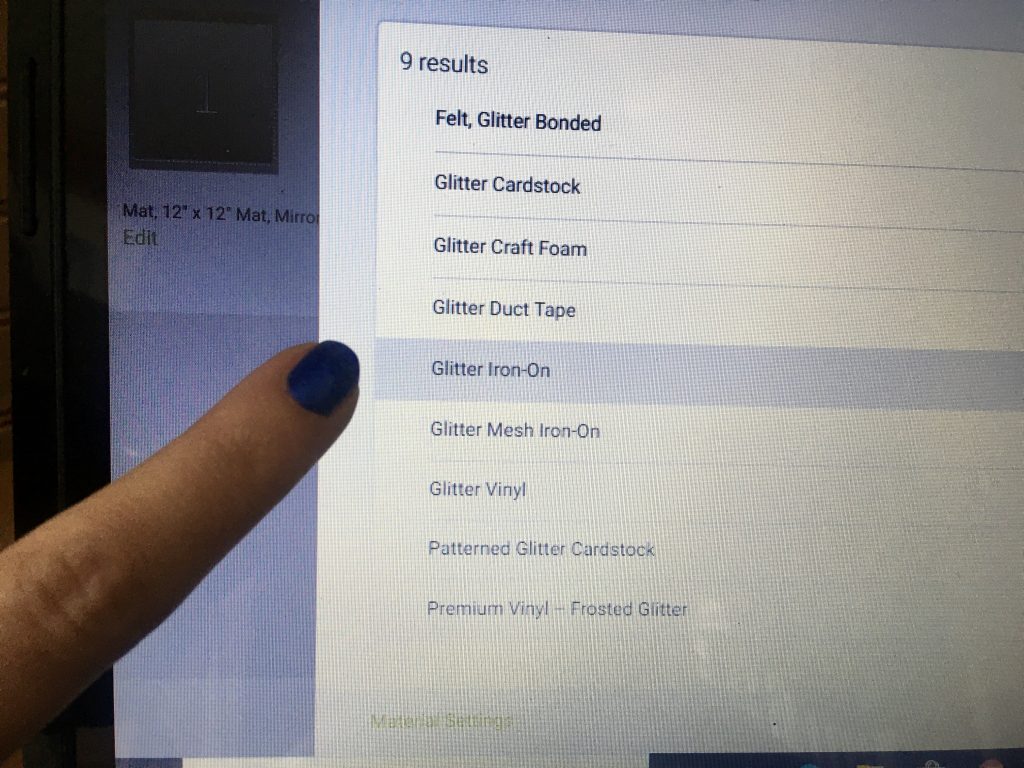
Choose “Glitter Iron On” and click Next/Done.
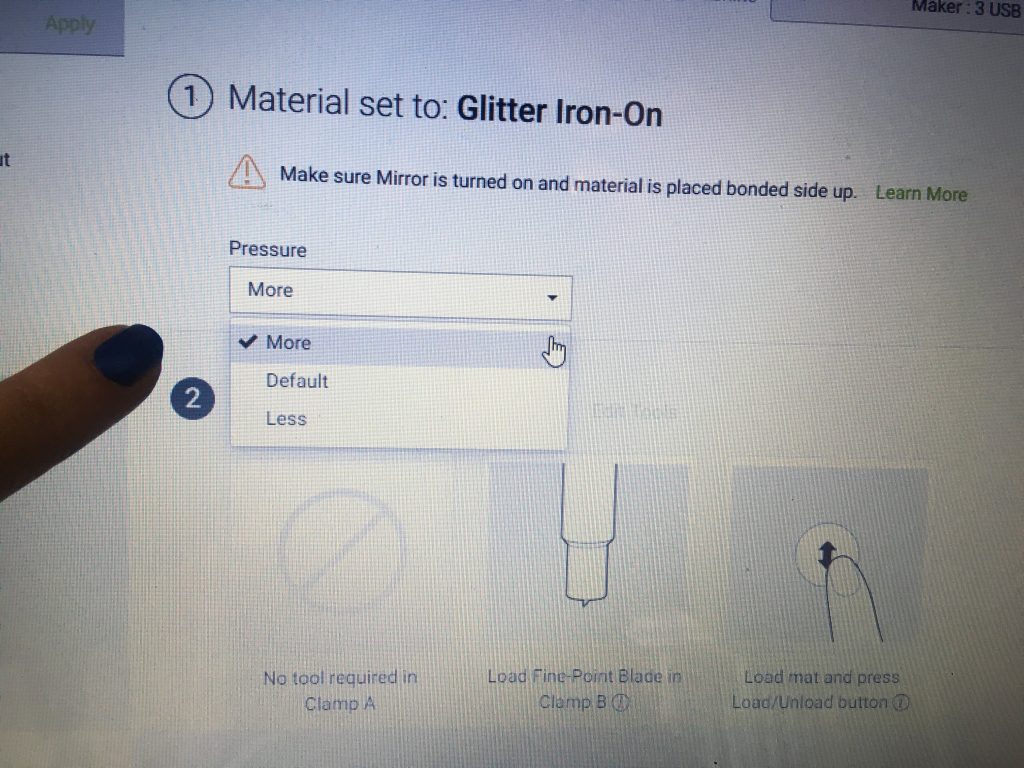
I ALWAYS choose “More” Pressure because, well, I have ripped one too many projects in haste and light cuts. Besides, the more pressure we endure the better quality the diamond, right????
Anyways, I apparently chose correctly because the machine cut that vinyl so well I was done with the onesie size in a FRACTION of the time the larger shirt took me. It was that good.
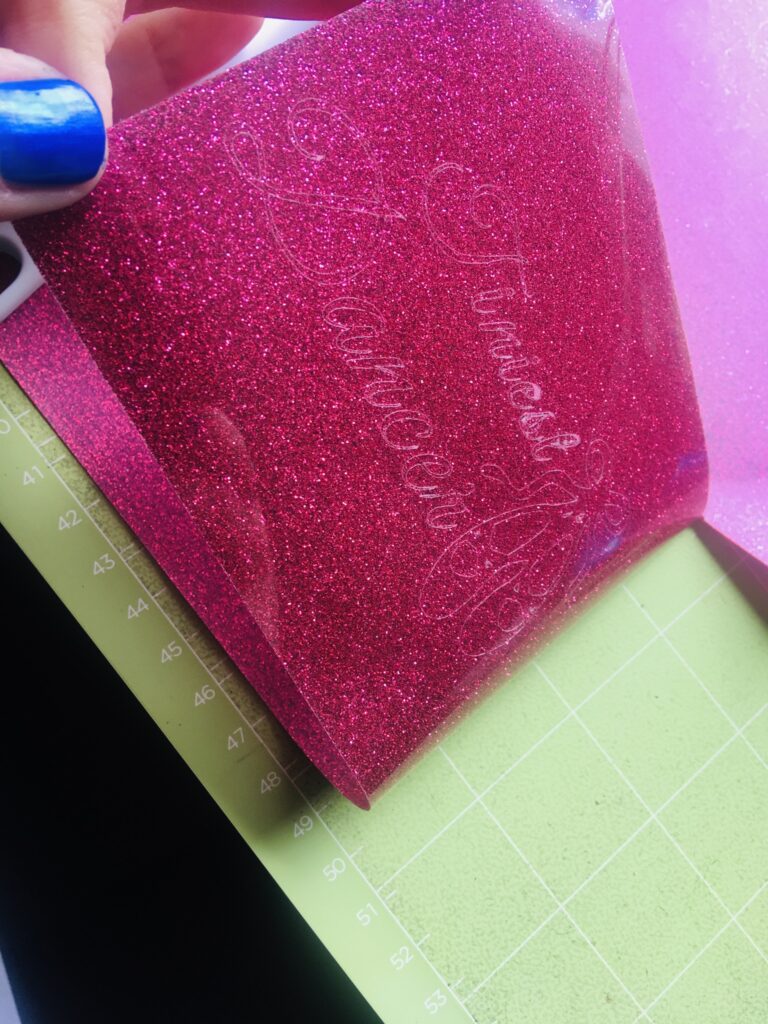
The telltale sign of hope was that I could actually READ the cut through the glitter when I checked the other side of the vinyl. With the bigger shirt on my first try, I could not only NOT see the cuts, I couldn’t push the vinyl through hard enough to weed. It was rough.
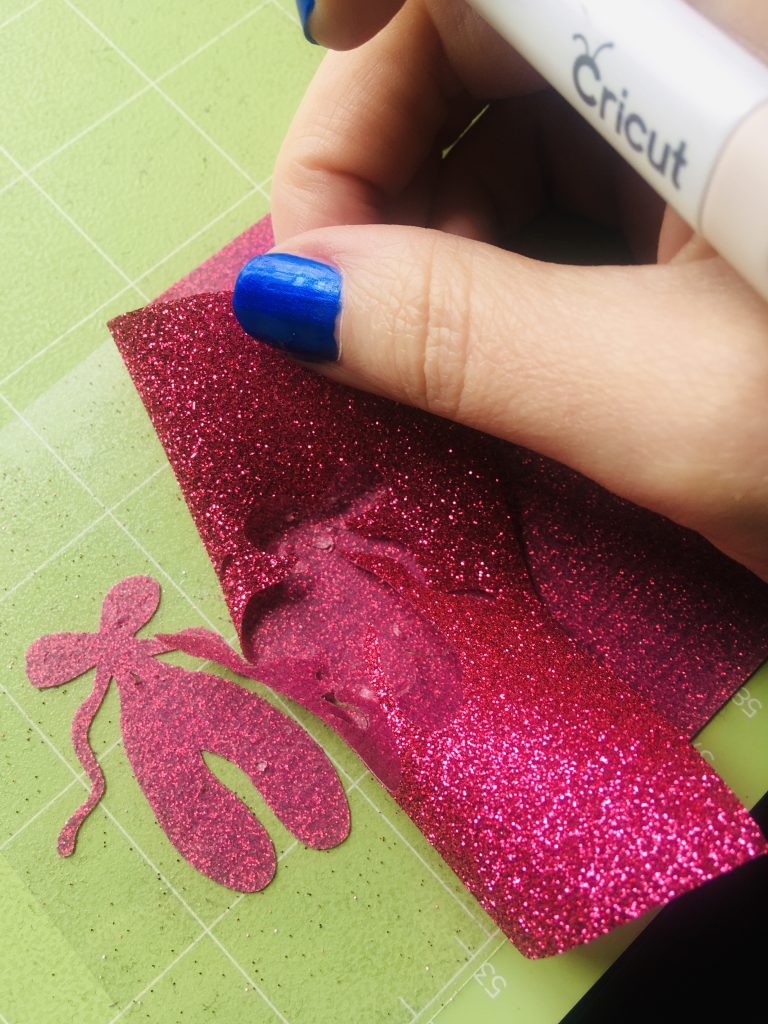
This thing weeded in no time, even though it was way smaller than the other one! I was so stinkin’ grateful.

I now remain grateful for what I have learned about Glitter Iron-On, sweet little girl designs, Cricut cutting settings, sisters and besties… and the chance to use pink glitter HTV.
I hope this helps you, too!????
Disclaimer: any of the clickthroughs you find on my pages are links to products that I have used and love and trust. I may make a small commission on anything you purchase on the other side of the link, so please know it will go to fund my crazy projects, wild ideas and writing habits. It will not cost anything extra for you. Thank you for your love and support!

Leave a Reply